How to Make a Paper Snowman Ornament
Where I alive, Fall is very short and the snowfall falls most immediately once things starting time getting cold. That's why, despite winter still technically being a few months off, my kids are already asking me to assist them brand winter themed projects! The 2d in that location's snow on the footing, they get excited about information technology and desire to incorporate it everywhere. That'south why I decided to teach them how to make these adorable rolled paper snowman ornaments! The first few nosotros made together turned out then beautiful that I decided to make an extra and outline the process and then other people can see hw they're washed also.
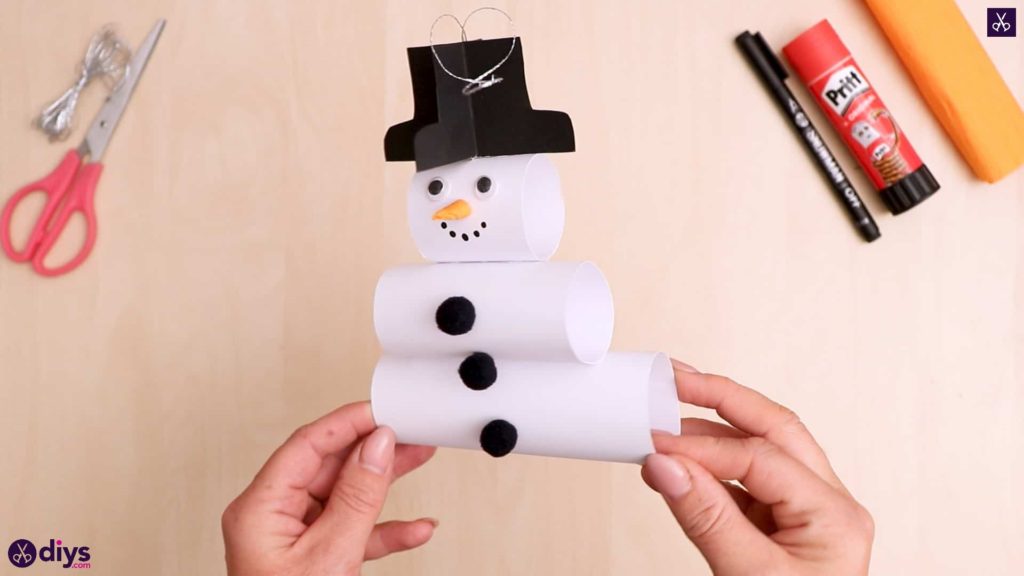
Check out these full instructions for making paper snowman ornaments, complete with photos! If you'd prefer to follow along with a video tutorial, proceed scrolling to the end of this post to notice one.
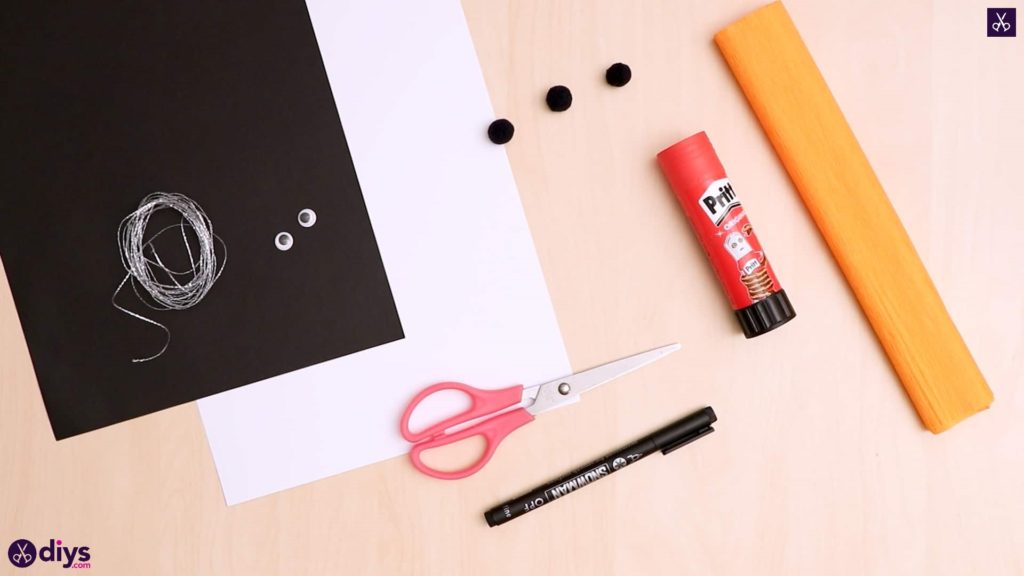
For this projection, you'll demand:
- Cardboard (white)
- Black paper
- Crepe paper (orange)
- A black marker)
- Two googly eyes
- Silvery thread
- Scissors
- A glue stick
- 3 miniature crafting pom poms (black)
Stride 1: get everything ready
Assemble your materials together in front of you!
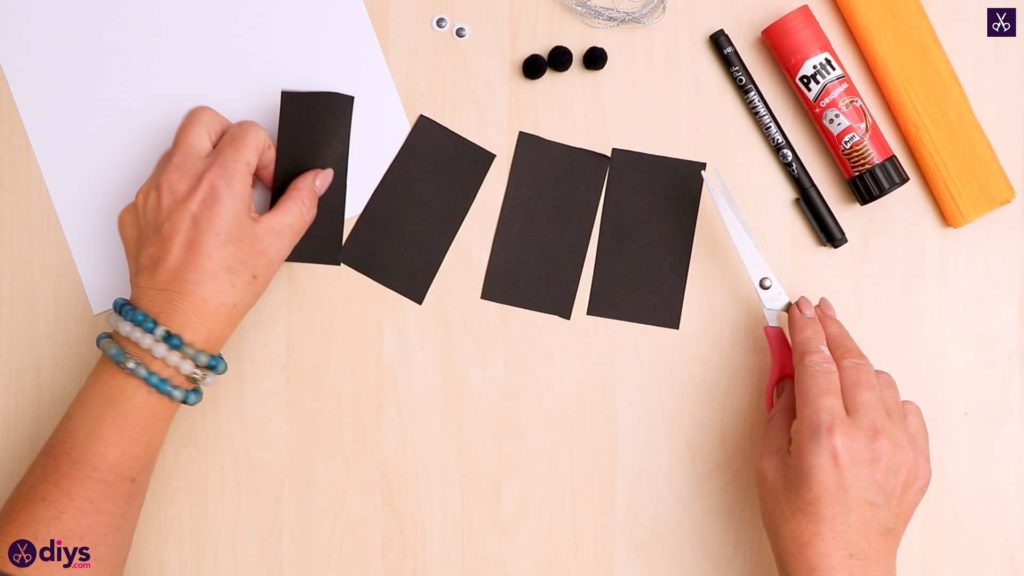
Step 2: strips of black
Cut two inch-wide strips from the width side of your blackness paper. Fold each one and cut information technology at the center crease to make two equally sized one-half pieces, totalling four new strips in all.
Stride 3: fold
Fold each of those 4 strips into equal halves again, only don't cutting along the crease this time.
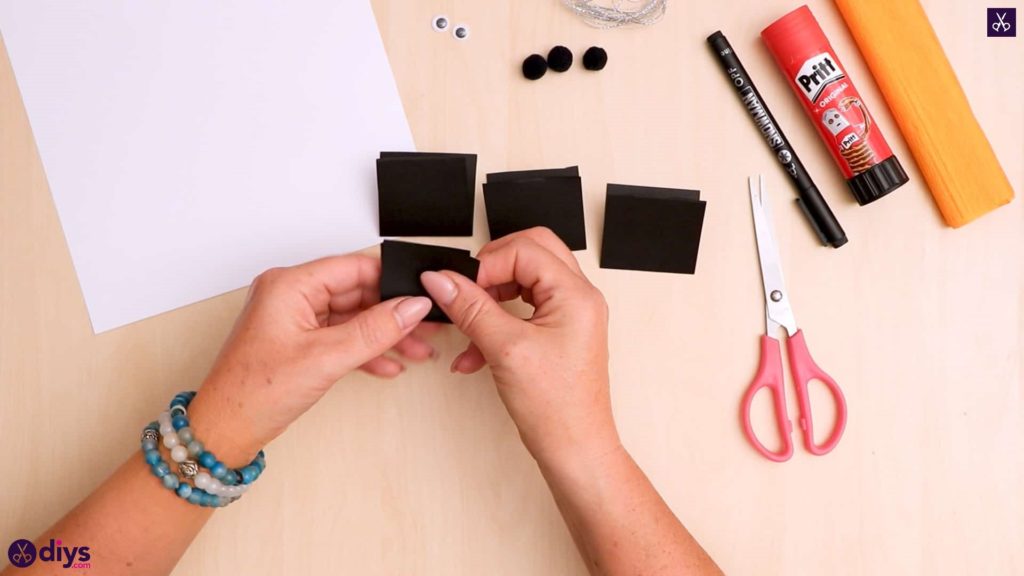
Step 4: brand the hat
With the crease facing to the left, concord the doubled squares together so you're cutting both sides of each at once and trim the foursquare into an L-shape. Then round the top corner of the bottom part off and then it looks like a cartoon boot rather than the letter. Repeat this process for all four squares until you have four flat boots that open at the crease similar layers.

Footstep 5: gather the lid
Option upwards one boot piece, keeping it closed at the pucker, and utilise glue all over one side. Have a 2d boot piece, keeping it closed likewise, and line it upwards then its shape fits perfectly with the first along the glued side, pressing it into place. Echo this procedure until you take all four L-shapes glue together on all sides except one, which you'll leave open for a moment.
Step 6: cease the chapeau
Cut off a piece of your silver thread that's about four inches long. Fold it in half and necktie the ends together in a not so yous accept a two-inch wait. Apply gum to the last open sides and, before sticking them together to finish the L-shapes all the way effectually, put the knotted ends of your silverish thread loop into the centre so the loop sticks out above the blackness shape. And then stick the last two L-shaped sides together. What y'all've really created hither is a dimensional acme chapeau for your snowman!
Step vii: make the torso parts
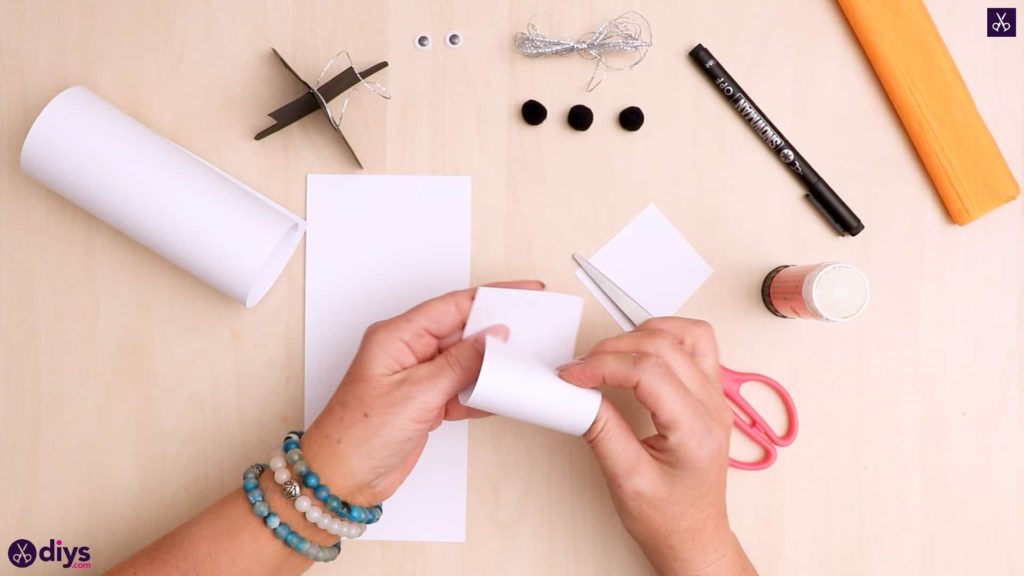
Turn your sail of white paper to sit in a landscape direction no the table and cut it in half. Ready one one-half aside for later and turn the half you're using at present upright so it sits tall and portrait instead. Curlicue the bottom of the sail upwards, towards the top border, to create a rounded horizontal cylinder. Apply glue along the peak edge and stick the curl y'all've created from the bottom down when the ii see as you bring the newspaper up and inward on itself. Then take the other one-half of the white page that you'd ready aside and cut it in the same management, merely this fourth dimension at effectually the one 3rd marking, and then you end upward with 2 rectangles, i that is bigger than the other. Repeat the curling and rolling procedure with these two so you lot terminate up with three cylinders in decreasing sizes. If your rectangles are a little likewise long to get the same sized cylinder in terms of how thick they are, lucifer the thickness of your other rolls for consistency and but trim the excess strip length off before yous stick the ends downwardly.

Pace 8: make the nose
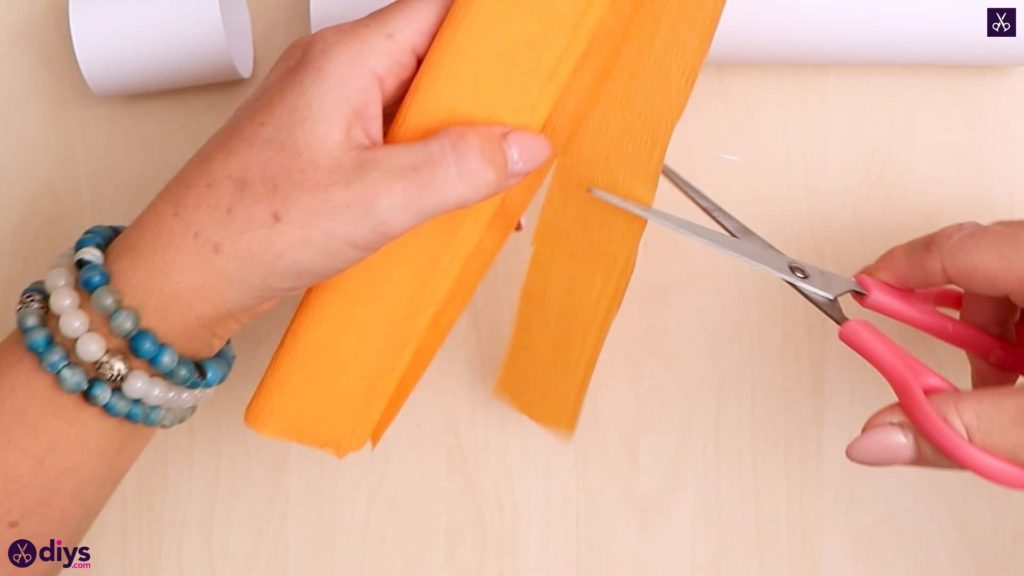
Cut a strip from your orange roll of crepe newspaper that'south about 2 inches long and half an inch broad. Hold it horizontally and fold 1 side in towards the heart diagonally to begin a point. Fold the other side in to complete the bespeak, so you now take what looks like the elevation of a triangle. Fold the ends upwards, towards the bespeak, and fold the corners that stick out past the diagonal edges back in on themselves towards the middle so the become another layer on the bespeak rather than sticking out the sides of it. And then start rolling the layered and folded slice into a piffling cone shape, starting on the right side and working your way over to the other until you have a rounded and pointed shape. This volition be your snowman's carrot nose! Trim the base of operations a little and stick it in place with mucilage if it won't stay rolled all the way upward to the point at the other end.
Step nine: glue the body together
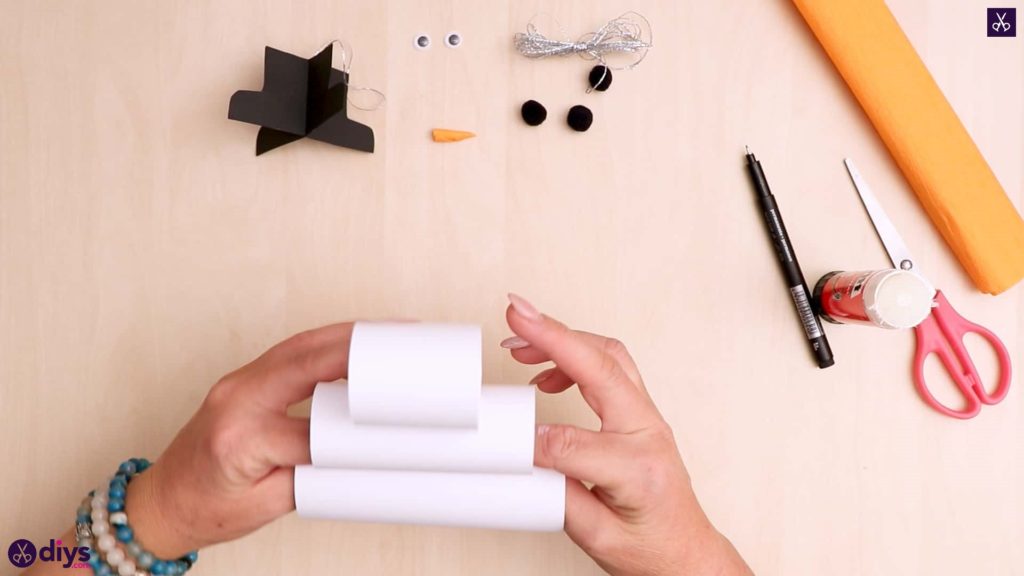
Utilize gum to the exterior of your smallest cylinder (I did so where I stuck my ends down in order to hide the joining line) and stick it in the center of your medium sized cylinder then the ends of the bigger one stick out past the ends of the smaller ane evenly. Repeat this process to stick these two pieces to your biggest cylinder. Y'all now have a decreasing stack of three!
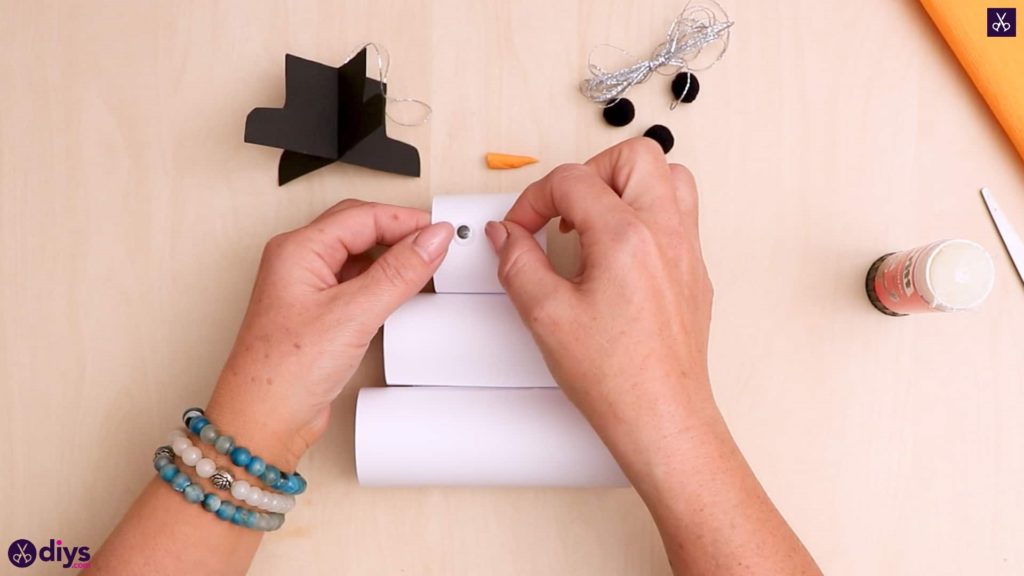
Footstep 10: add together the eyes
Stick your googly optics to the front of your smallest cylinder, near enough to the tiptop that there'southward room for more facial features underneath but not and so high that they'll arrive the way of the snowman's hat.
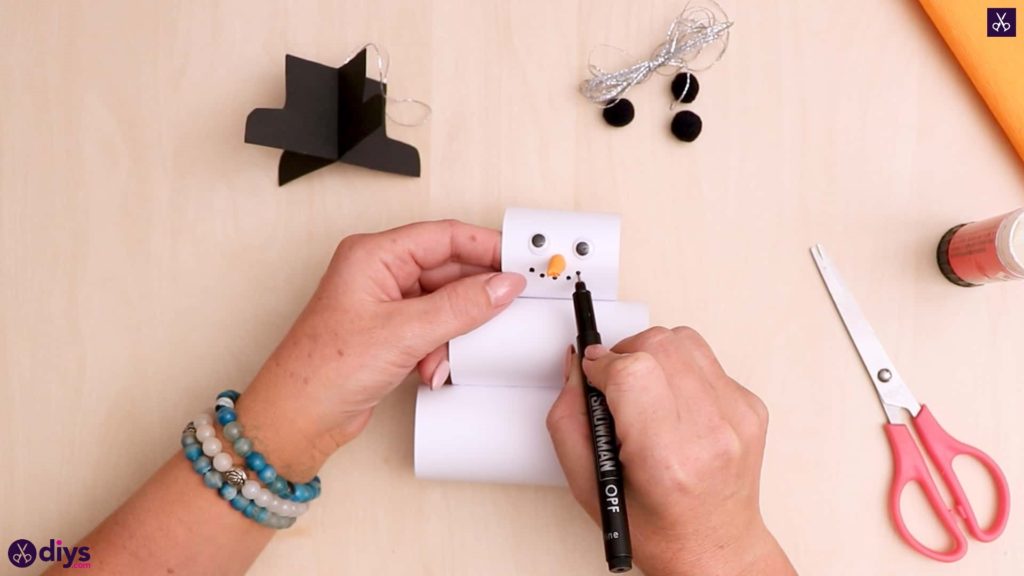
Pace 11: draw the face
Apply mucilage to the end of the carrot olfactory organ contrary the betoken, on its base of operations, and stick it to the heart of the snowman's face up, below and between the googly optics. Then apply your blackness mark to give him a smile. I did so past making little dots that look similar the classic snowman smiling made from pieces of coal.
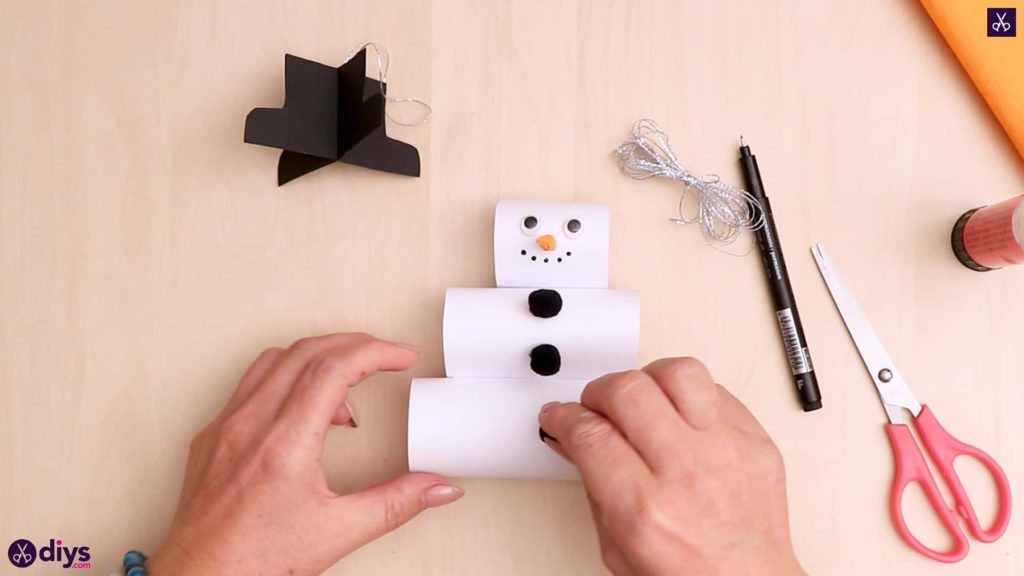
Step 12: glue the pom poms
Apply glue to the backs of your fiddling black crafting pom poms and stick them down the front of your snowman's rolled body like coal buttons. I stuck two to my middle roll and one to my bottom ringlet, all the mode downward the center.
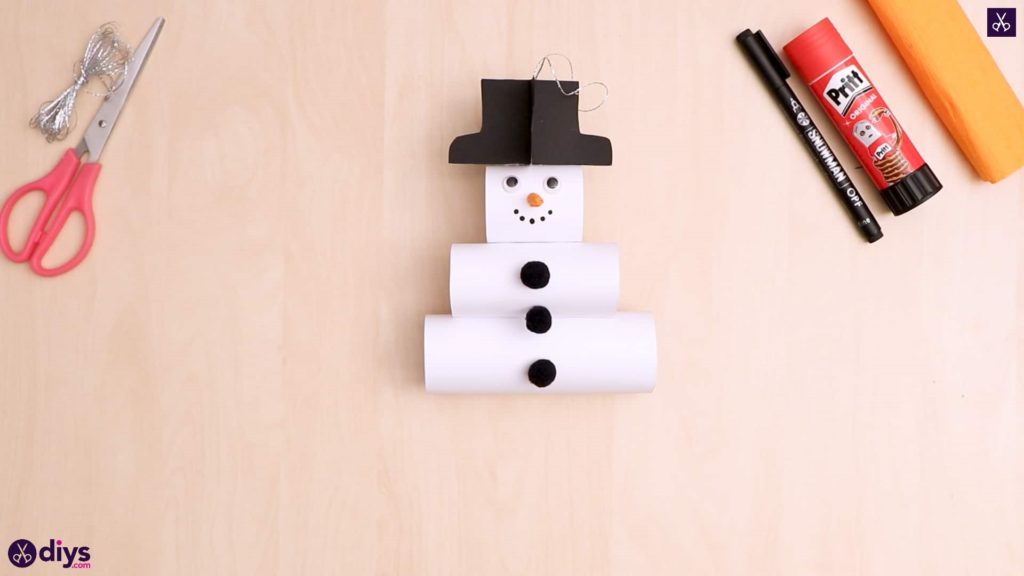
Footstep thirteen: finish
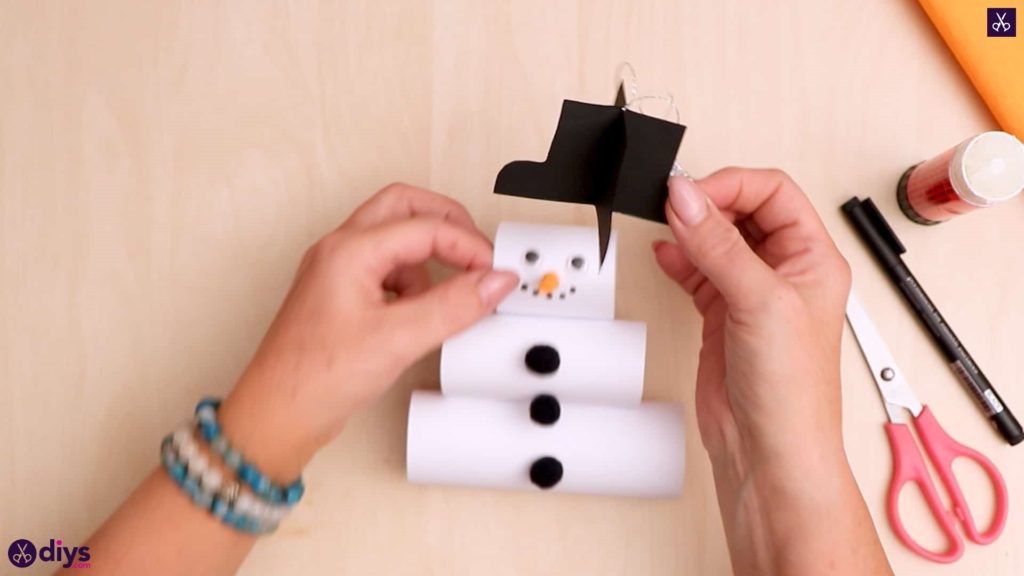
Utilize mucilage to the underside of the lid y'all fabricated previously and press it onto the snowman'south caput, on the top of your smallest curl. I situated mine so one of the points face forward because I thought that gave the 3D folding technique I used the most bear on.
That'southward all there is to information technology! Yous now have a completed hanging snowman ornament. Only in case you'd like to try this project out for yourself, hither's a fantastic tutorial video to assist y'all!
Source: https://www.diys.com/paper-snowman-ornament/
0 Response to "How to Make a Paper Snowman Ornament"
Post a Comment